
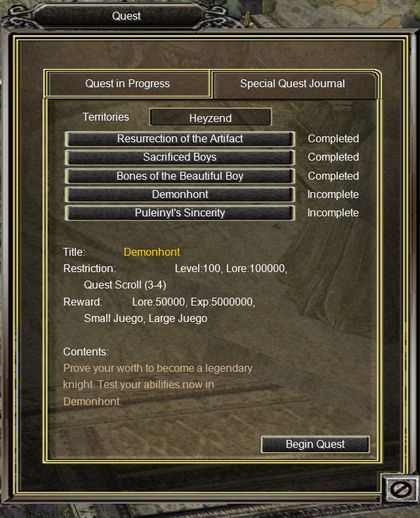
Demonhont is the fourth Special Quest of Episode 3 in the territory of Heyzend, and the only one made for a whole knighthood. Laisherd calls on your knighthood to prove it is worthy of the Legendary Knighthood by passing through every gate of Demonhont, where each member's part and each member's survival decide the outcome.
Requirements
- Level 100 and 100,000 Lore. No earlier Special Quest is required.
- A Special Quest Scroll (3-4) in your inventory, carried by the player who begins the quest; hover over the scroll to see what it is. The scroll is used up when the quest begins, so every attempt needs a new one.
- A knighthood of 8 to 13 members, including the player who begins the quest. This is a knighthood quest, not a party quest: no party is needed, and a player without a knighthood cannot begin it. Knighthood members who are alive, on the same map and close to you when you press Begin Quest go along with you; if fewer than 8 or more than 13 are with you, the quest does not start. The Lore, experience and item rewards go only to the player who began the quest.

Where to Begin
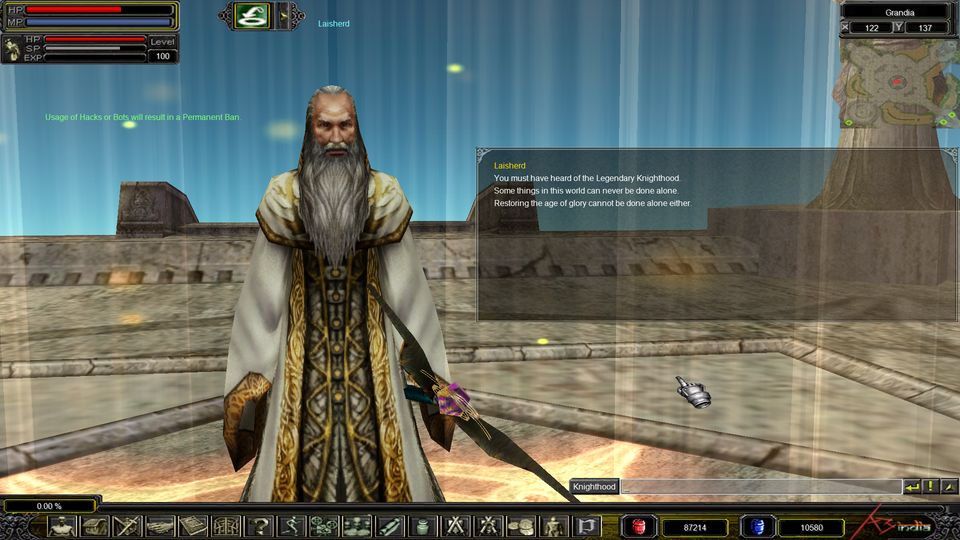
The quest starts in Grandia, and you must be in Grandia when you press Begin Quest in the Special Quest Journal. Laisherd waits in the centre of the plaza, around X 122, Y 131, and you have 3 minutes to reach him and speak to him. When the conversation ends the whole knighthood is taken into Demonhont.
Objectives
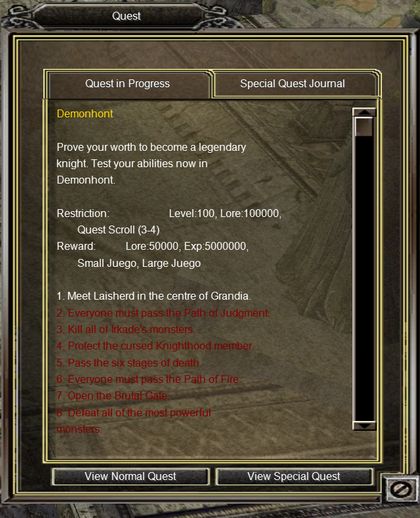
Your objectives are shown in the Quest in Progress tab of the Quest window (Q). Completed steps turn green, the current step is white and the steps still ahead are red.
| Step | Objective | Time Limit |
|---|---|---|
| 1 | Meet Laisherd in the centre of Grandia. | 3 minutes |
| 2 | Everyone must pass the Path of Judgment. | 15 minutes |
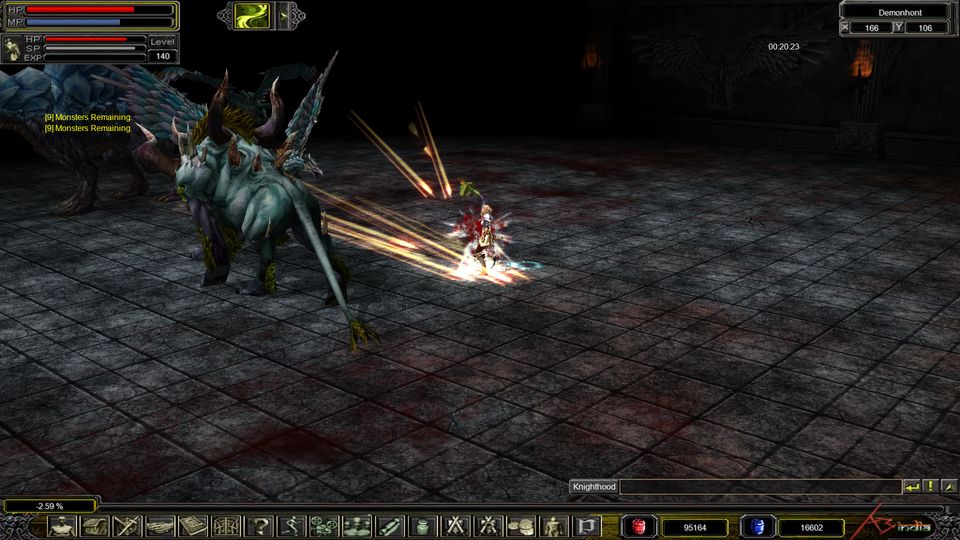
| 3 | Kill all of Irkade's monsters. | 22 minutes 30 seconds |
| 4 | Protect the cursed Knighthood member. | 15 minutes |
| 5 | Pass the six stages of death. | 22 minutes 30 seconds |
| 6 | Everyone must pass the Path of Fire. | 15 minutes |
| 7 | Open the Brutal Gate. | 30 minutes |
| 8 | Defeat all of the most powerful monsters. | 22 minutes 30 seconds |
- The time left for the current step is shown at the top right of the screen. Each step has its own timer.
- Some deaths end the quest for the whole knighthood at once: a cell of judgment in step 2, the fire or the death of the cursed member in step 4, and a pillar of fire in step 6. The hints below say where to be careful.
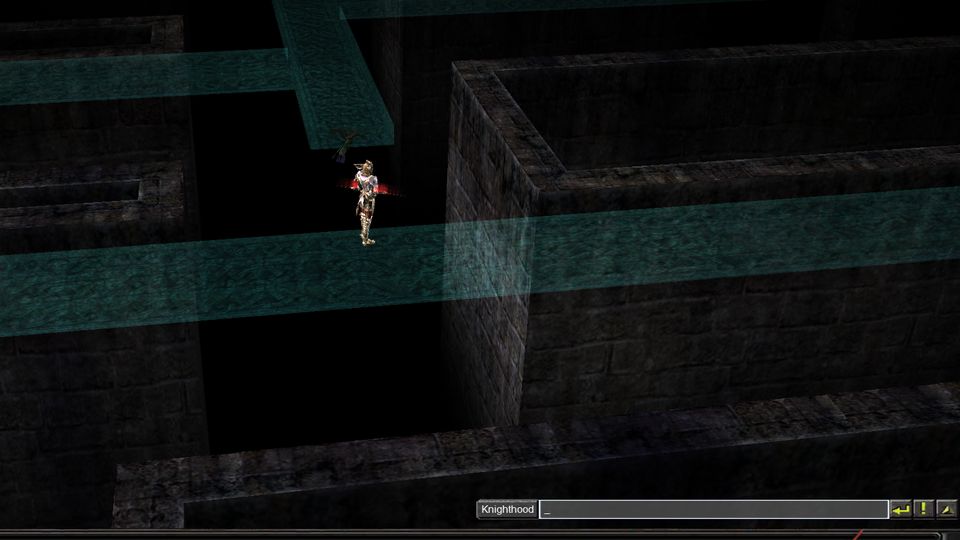
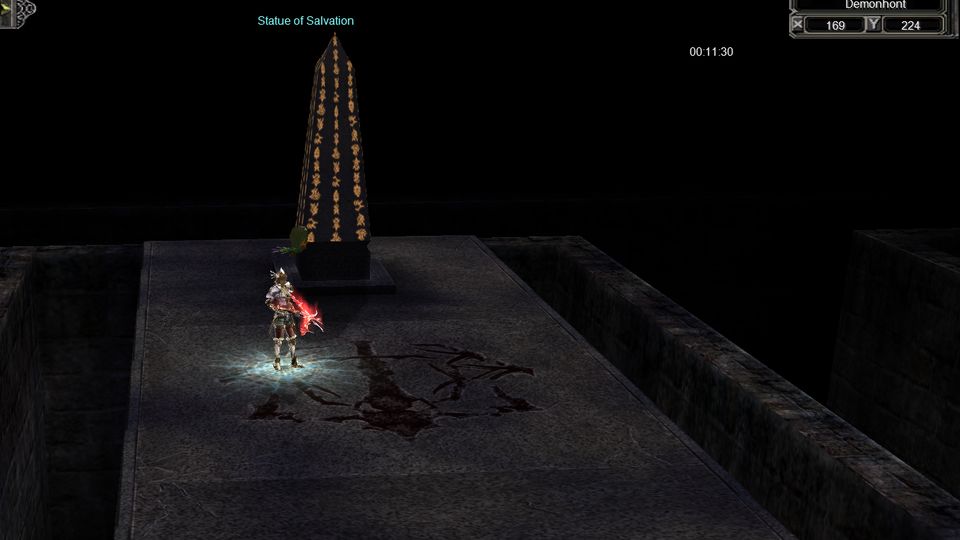
- The Path of Judgment is a dark maze, and nobody in the knighthood can use a skill while you are in it. Some of its cells are cells of judgment: whoever steps on one is killed on the spot and the quest fails. Every member has to make it through to the Statue of Salvation at the end and click it; a message tells you how many members still have to arrive.
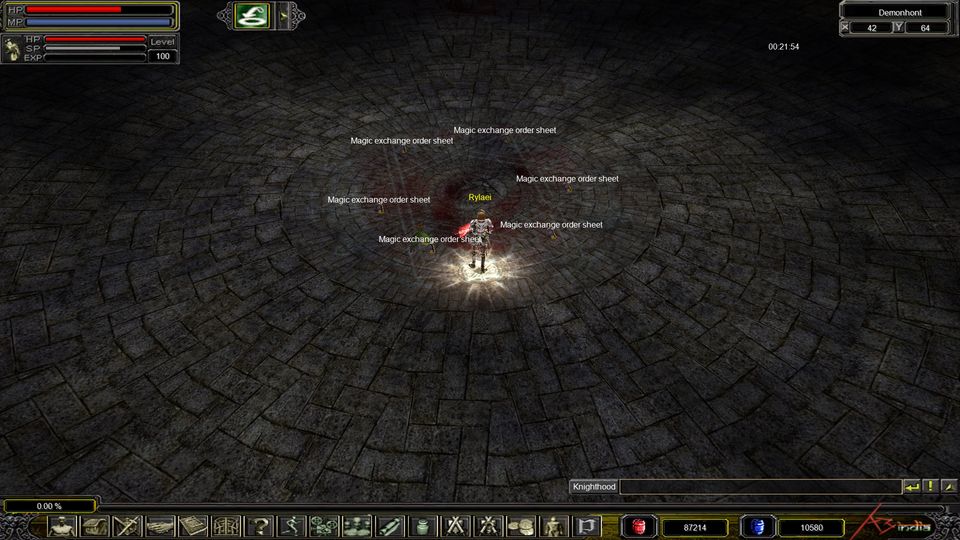
- Next the knighthood is taken to a round room with six Magic exchange order sheets lying on the floor. Using one summons a group of monsters, but only one of the six brings Irkade's monsters, and which one changes with every attempt. The step ends when every monster the sheets have summoned is dead, so each wrong sheet you use adds more fighting. Sheets left on the floor disappear after a while, and the step cannot be finished without the right one.
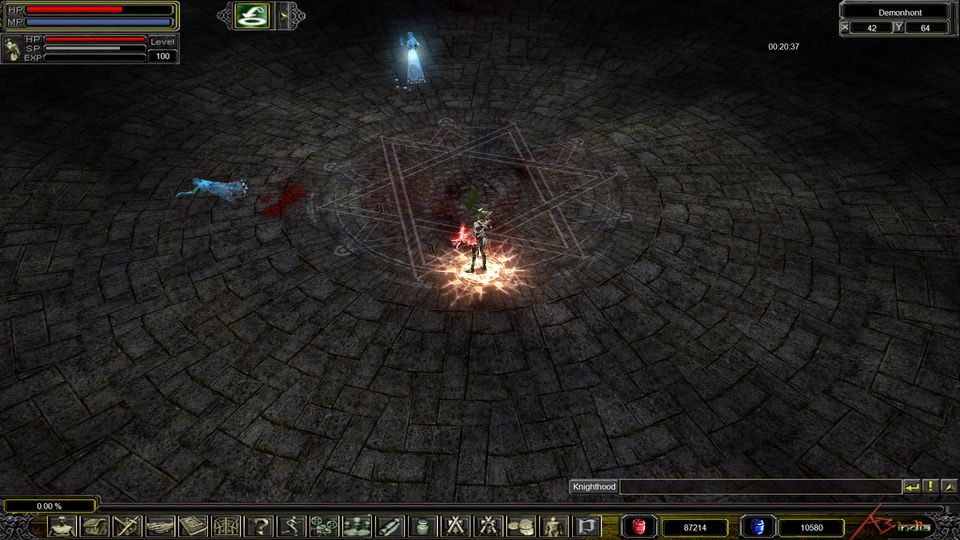
- One member of the knighthood, chosen at random, is cursed: their HP and DEX drop to nothing, so they cannot use skills or potions, other players' skills cannot reach them, and a single hit is enough to kill them. The cursed member starts at one end of a narrow walkway between two halls, and after a short while a fire starts behind them and creeps along it. The rest of the knighthood starts in the halls on either side, where EsSebyer archers are waiting. The cursed member has to reach Laisherd at the far end of the walkway and speak to him; if the fire catches them, if they die or if they leave, the quest fails.
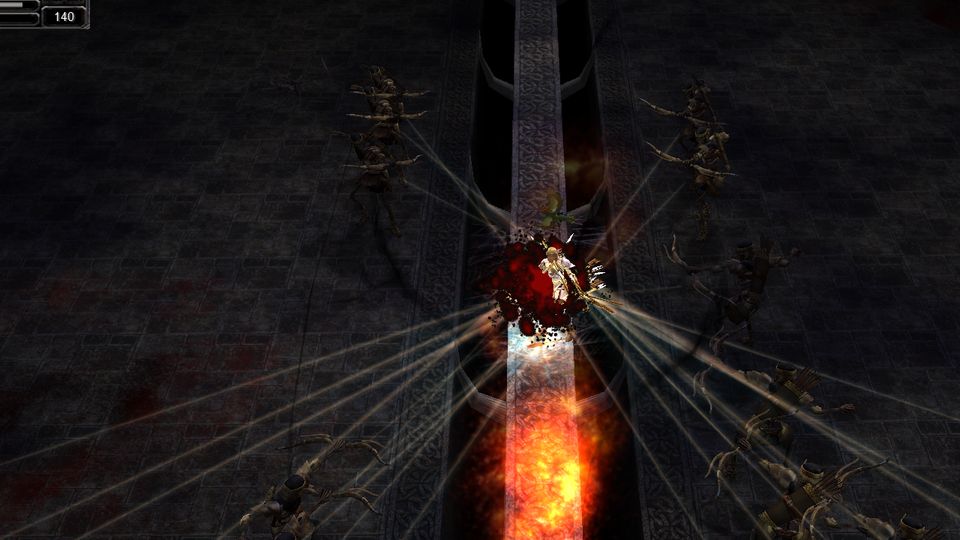
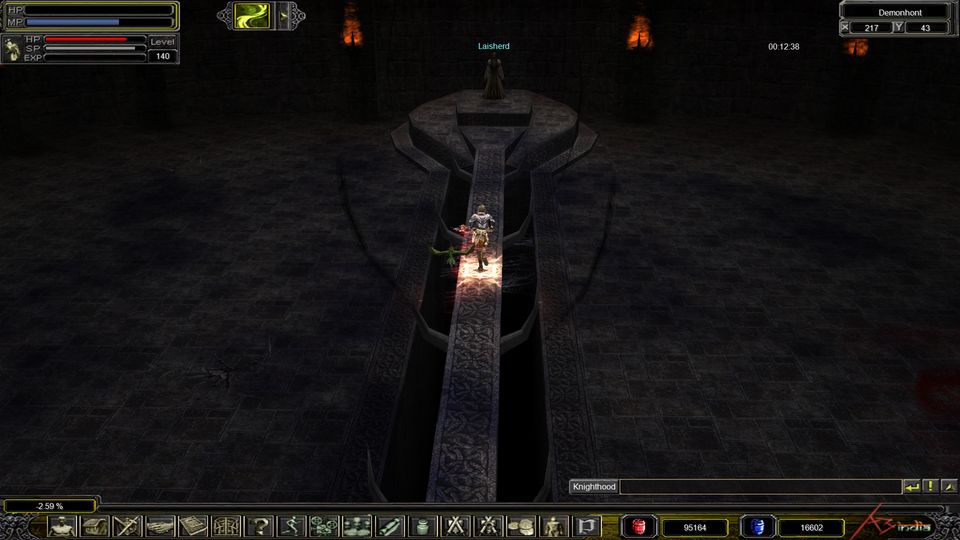
- The six stages of death are six rooms in a row, closed by the Doors of Punishment, Awareness, Denial, Anger, Acceptance and Healing. Break each door to open the next room and fight your way through its monsters. The step ends when the player who began the quest reaches the passage beyond the last door. From here on, teleportation and recall do not work.
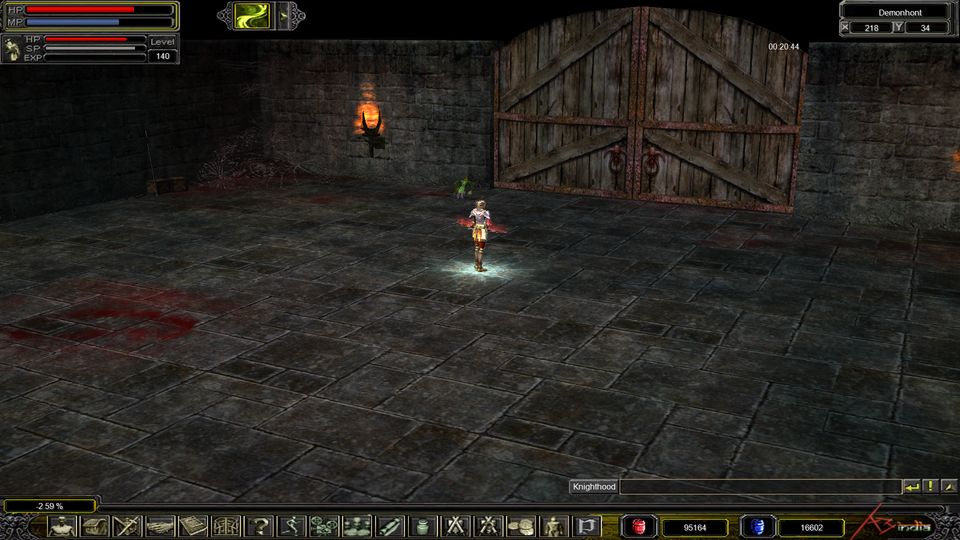
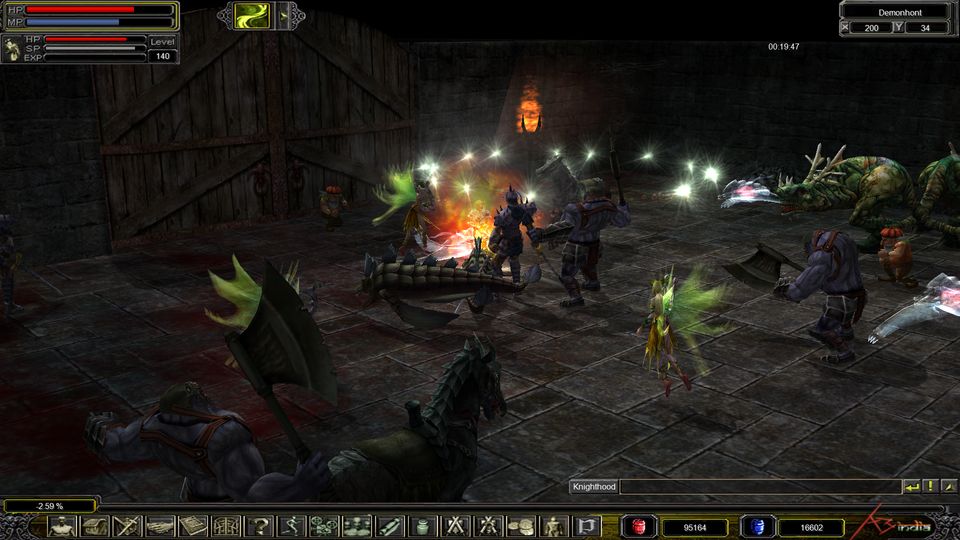
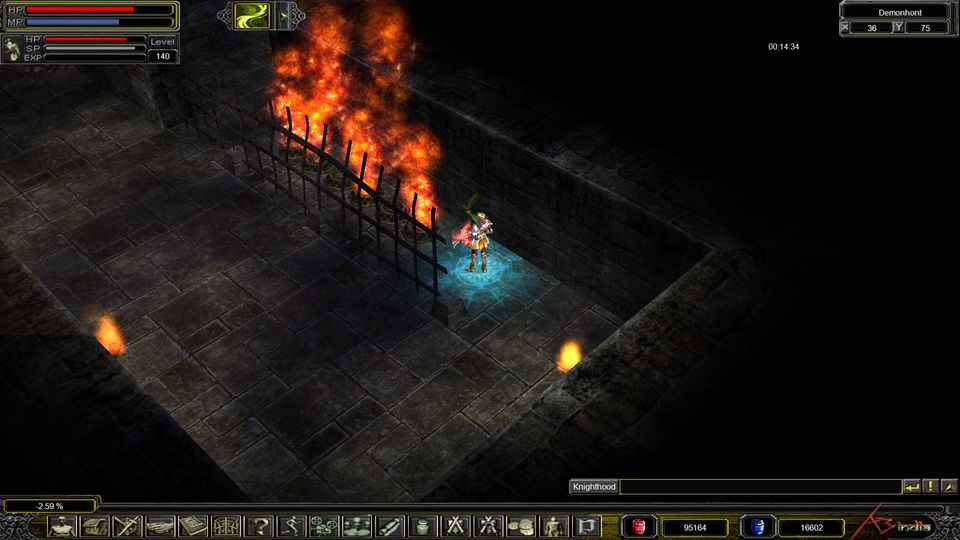
- The Path of Fire runs along two narrow walkways lined with pillars of fire that flare up and die down, each at its own pace. Whoever is standing on a pillar when it flares up is killed and the quest fails, so watch the rhythm before you cross. When every member has reached the end of the path, speak to Laisherd.
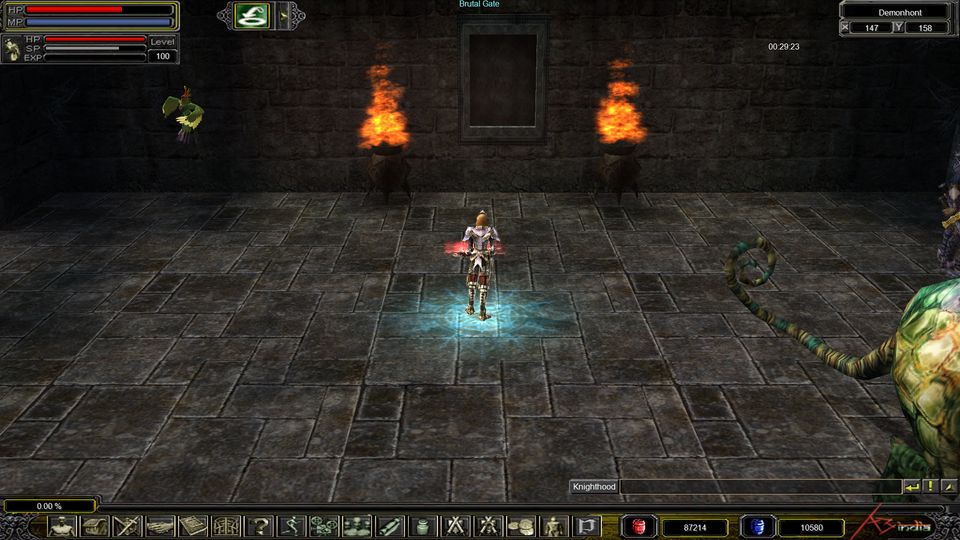
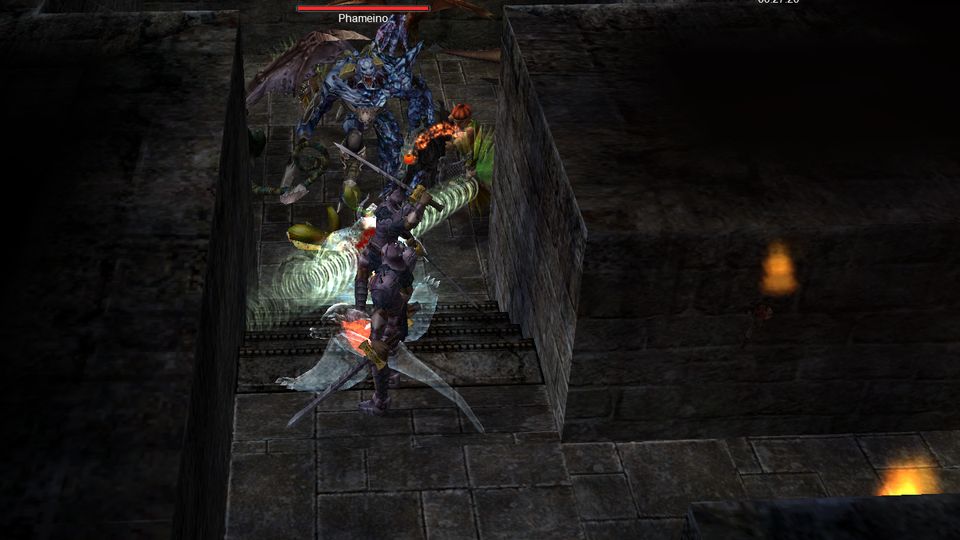
- The Brutal Gate stands in a hall from which corridors full of monsters lead out to twelve rooms. Each room is guarded by a boss that drops one of the twelve pieces of a carved design (all twelve are called Designing carvings and differ only in their picture). A boss drops its piece only once, and a piece left on the ground disappears after a while, so pick them up. The player who began the quest needs all twelve pieces and twelve free inventory slots; the other members can hand theirs over by trade.
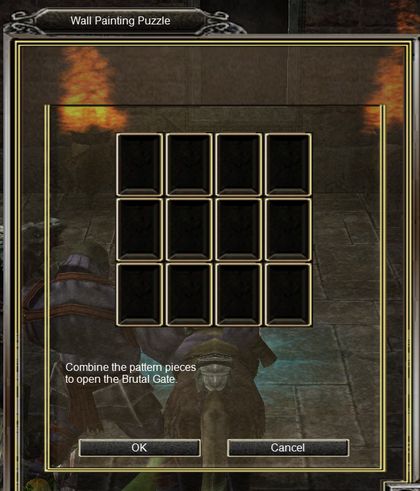
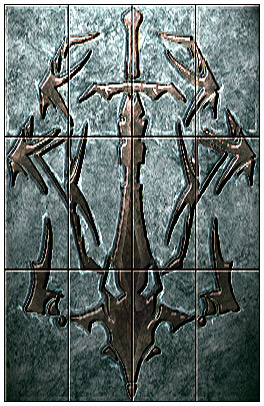
- With all twelve pieces, the player who began the quest clicks the Brutal Gate to open the Wall Painting Puzzle and places the pieces in its four-by-three frame so that they form the design. A wrong design fails the quest, and the pieces are lost with it. If you need a hint, the finished design is shown below the puzzle window.
Show the designHide the design
- Behind the Brutal Gate wait the most powerful monsters: EsRanias and Irkade Ur, Irkade Ken and Irkade Hagall. A counter shows how many are left. Defeat them all to complete the quest.
Rewards
- 50,000 Lore
- 5,000,000 Experience
- Small Juego
- Large Juego


Keep two inventory slots free: a reward item that does not fit is dropped on the ground. The quest is then marked Completed in your Special Quest Journal. Each Special Quest can be completed only once. Items that belong to the quest, such as the order sheets and the pieces of the design, disappear when it ends. The next one is SQ 3-5: Puleinyl's Sincerity.